How to Photograph the Moon

For centuries the moon as captivated people, given direction and provided hours of enjoyment and wonderment. Being the brightest object in the night sky, it's something photographers of all levels can shoot, however it does take planning and preparation to accomplish.
The moon is bright, but it isn't bright enough to simply snap a photo. It is an object that's lit with sunlight, so nearly every aspect of preparing the shot is the same. To achieve a nicely exposed photo, one where the moon doesn't appear flat nor like an out of place object. To accomplish this, let's first look at the basic gear you'll need.
Tripod. A secure base and workstation for your camera is essential to capturing the moon and avoiding camera shake. While you may be able to get away with hand holding your camera, your best results will without a doubt come from mounting your camera upon a tripod. (See our article on how to choose a tripod for some good tips).
Long zoom lens. In order to help fill the frame and properly show off the moon, the longer your zoom lens the better. You don't necessarily need the fastest lens, because you'll be on a tripod, but it's best to use anything 300mm or longer.
Shutter release cable. Or a wireless remote if it's an option for your camera model. This is not an essential piece, but it's nice to have and helps avoid camera shake. If you don't have one you can cheat and use the self timer function on your camera.
Camera. While almost any camera will work, point and shoots rarely produce decent photos, mostly due to the small size of the sensor and it over-heating during longer exposures resulting in digital noise. A DSLR is preferred here, or film SLR, again with a long lens on it.
No preset or auto function of your camera will be able to properly meter the moon, so you are best off shooting in full manual mode. Also, your geographical location and current phase of the moon will have an effect on what your settings will be and you will need to adjust for the season of year and clarity of the sky.
ISO. Digital cameras should be set to 100 or lower, film shooters should shoot film of 100 ISO or slower to eliminate noise and grain.
Aperture. Because you're after crisp, clean shots shooting at f/11 to f/16, depending on your lens, will be the best place to start.
Shutter speed. This will be the point at which you will need to adjust on a number of shots. The variables are many and include those mentioned earlier, such as the phase the moon is in, geographical location and desired shot, but on a clear night starting at about 1/60th should be a great middle ground.
A word about where you choose to shoot. Picking a spot to shoot the moon is one of the most important factors in achieving a quality shot. Ideally, if you want to showcase the moon itself you want to avoid any other ambient light, including street lights and traffic. This may require you to go off on a remote road or into a public park after hours – your backyard may not be the best location for these types of shots. On the contrary, if you are trying to include a city skyline under your moon shot, you'll need to find a lookout that allows for the twinkling lights below and do further test shots to nail the exposure properly.
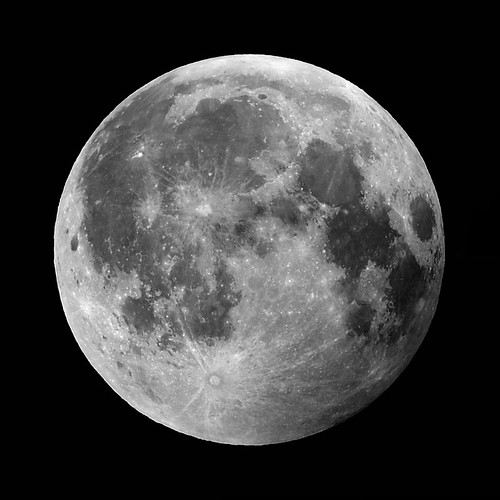
Post processing your photos is really straight forward and in most cases an auto white balance will do you just fine, however photographs of the moon also make stunning black and white images.
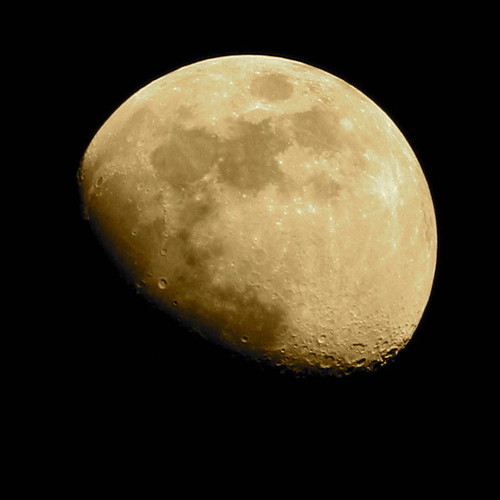
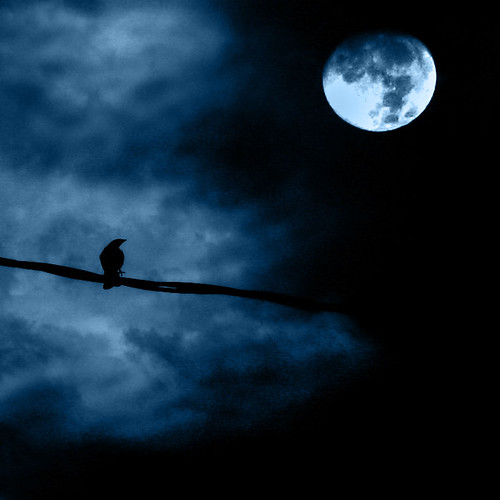
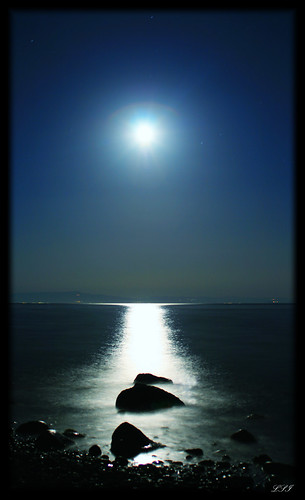
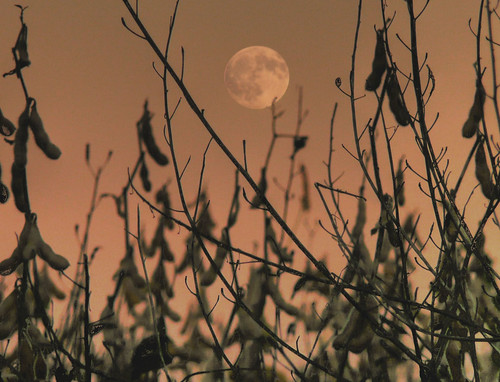
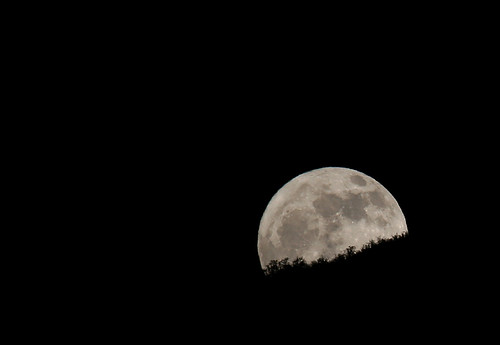
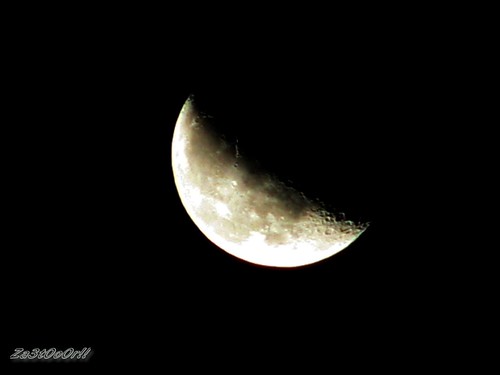
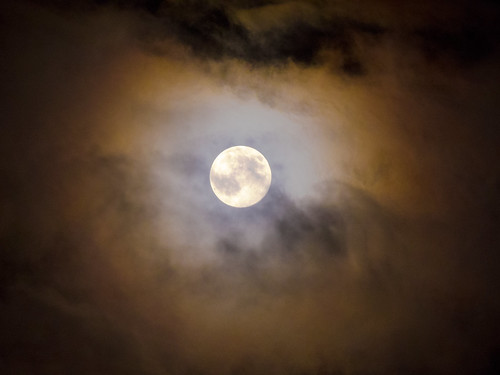
The moon is an intriguing and fascinating subject to shoot, partially because it's always changing, moving closer and further away. There is no one time that's better to shoot it over another, so be creative and shoot it year round! Additionally, you can also play with composition, aside from shooting the moon on it's own. Get low and shoot through the rising stalks in a cornfield or catch the reflection of the moon in the ocean while on the beach. As inspiration, here's 10 great examples of moon photography!
